

Photoshop Tutorial
Lightning
This is a very, very simple technique for creating very realistic lightning in Photoshop. It can be done is less than 2 minutes, but always produces
different results.
All tutorials are made in Photoshop CS4 on a Mac.
Step 1.
Create a new document in Photoshop, for the purpose of this tutorial, I have made mine 700px by 400px.
Step 2.
Make sure your colours are set to black and white, select your Gradient tool, set it to Linear Gradient and make sure it is
set to Foreground to Background. Now just draw the gradient from the top of the document to the bottom. Holding down Shift
will make sure the line is straight.
This what you should see.

Step 3.
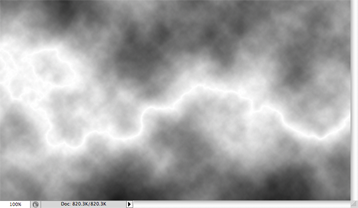
Go to Filter > Render > Difference Clouds. Now invert the image, Image > Adjustments > Invert.
You should now see something like this. You can already se the lightning.
Step 4.
Now to make the lightning stand out more, we need to remove some of the cloud. To do this go to Image > Adjustments > Levels. Grab the middle
arrow, and slide it almost all the way to the right and press OK. I prefer not going all the way as leaving a little gives it a feeling of some dusty, cloudiness just around
the lightning.
Use the settings below.
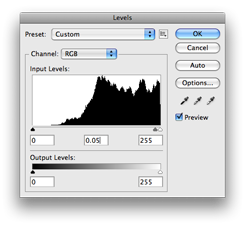
Input levels 0, 0.05, 255
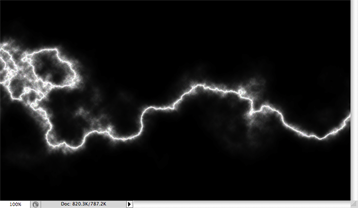
You should have something that looks like this.
Step 5.
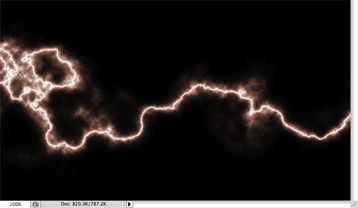
Now lets just add some colour to the lightning. Easy, just go to Image > Adjustments > Hue/Saturation, tick the
colorize box and then play around with the sliders till you find something you like. You can make it realistic by selecting a yellow, and bringing the saturation
down, or go all out and just make it as imaginative as possible.
Here is my final image.
Once you have this you can can then paste it into another image, leave it as it is, whatever. If you are importing it into another image, you might want to remove a few of the extra pieces of lightning, In my image, I would remove that circle of lightning on the left of the image. I have found that selecting your Eraser tool with a soft brush works well. Generally clean it up, turn it around (Go to Edit > Free Transform) and put it in the position that suits the image you are wanting to use it in. Remember to set the Layer Mode of the lightning to Screen.
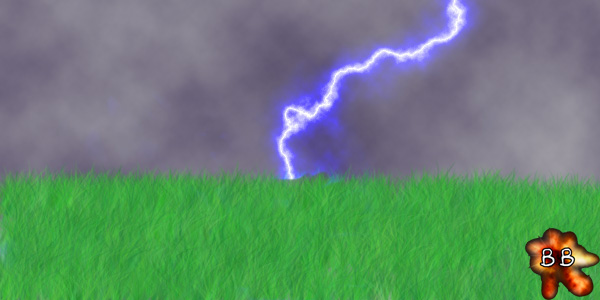
Here is something I made a long time ago when I first tried this out.
All tutorials are made in Photoshop CS4 on a Mac.