

Photoshop Tutorial
Simple Black & White Border
This tutorial will show you how to add a simple, yet very effective border to any photo in Photoshop.
All tutorials are made in Photoshop CS4 on a Mac.
Step 1.
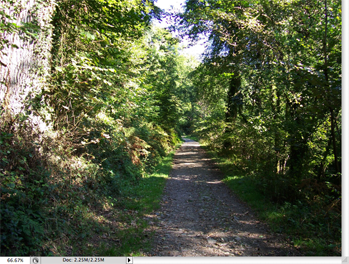
Open a photo that you want to frame. I took this one a few years ago whilst I was on holiday. To start with,
make sure that your foreground and background colours are set to Black and
White. You can do this by clicking the Default Background and Foreground button which is just above the colour
pickers.
Now we are ready to make the frame.
Step 2.
Create a New Layer above your background. This will be the layer we make the frame on. Press cmd+A
to select the whole area of the photo.
Step 3.
Now go to Edit > Stroke... and use the following settings.
You can play around with the number of pixels depending on the size of your photo. If you are using this to frame a smaller photo, you may not want as
thick a border, so use less pixels. A larger photo may require more to get the effect shown. Just find a thickness that suits your photo.
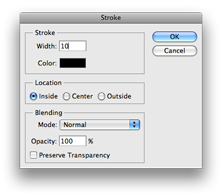
Set the Width to 10px, Location to Inside, Blending Mode to Normal, and Opacity to 100%.
Note: You can change the number of pixels depending on the size of your photo. If you are using this to frame a smaller
photo, you may not want as thick a border, so use less pixels.
You should now have a nice black border around your photo.
Step 4.
Now, select your Magic Wand tool and click anywhere inside your picture to deselect, then click a second time to select again.
You should now have the selection just inside the Black border you just made.
Step 5.
You need to now switch the foreground and background colours, to do this just press the "Switch Foreground and Background" button, that looks like
two joined arrows, just above your colour pickers. White should now be your foreground colour.

Step 6.
Now we repeat Step 3. but this time, instead of setting the size of the pixels to 10, double the number. So set it to 20px. This is
a good rule to set for what ever size your photo will be. All the other settings should remain the same.
Again, with you Magic Wand tool, click twice inside your frame, once to deselect then again to select just inside the White border.
Step 7.
Yet more repeating now. Change your foreground and background colours once more so that Black is now your foreground colour.
Step 8.
Repeat Step 3 once more. This time use the same settings as you did in Step 3.
Once you have the black border, press cmd+D to deselect the selection. Your frame should now resemble the image.
shown.
As you may be able to see, I have added an effect to the border to add a little extra to it. You don't need to do this, it is entirely optional.
If you do, follow these settings.
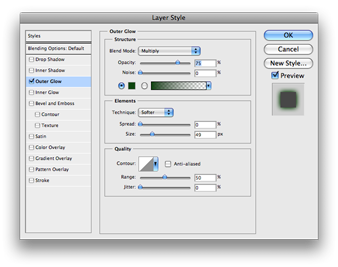
All I have done is added an Outer Glow to the Border layer, using the Layer properties. The settings I have used are:
Blend Mode: Multiply, Opacity: 75%, Size: 50px.
I set the colour to something that was very similar to the colours around the outside of the photo. The effect is subtle, and this just ads a little something to the photo.
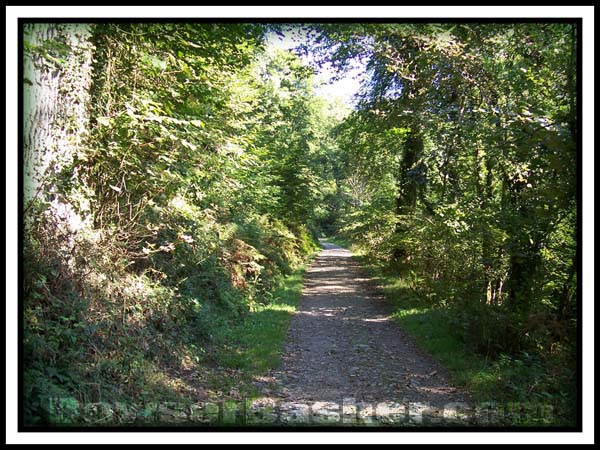
This is the final photo that I produced from this tutorial.
All tutorials are made in Photoshop CS4 on a Mac.