
Photoshop Tutorial
Swirls Wallpaper
This tutorial will show you make a lovely looking wallpaper, which also makes a great background. Whilst this looks quite complicated, it is in fact very
simple and gives great results.
All tutorials are made in Photoshop CS4 on a Mac.
Step 1.
Open a new document, for the prupose of this tutorial I have made mine 800x600, but you can make it any size you like. Make sure the background is white.
Step 2.
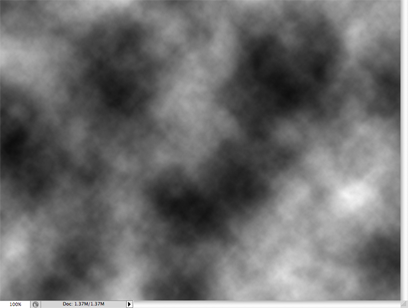
As with many tutorials, we are going to use the trusty Clouds filter. Go to Filter > Render > Clouds.
As usual, you will have something that will resemble the image shown. Mine has a creepy looking face in it  .
.
Step 3.
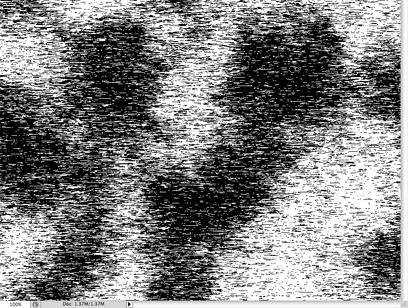
Time to start the effect. Go to Filter > Pixelate > Mezzotint, set the Type to Short
lines.
You should get something looking like the image shown. I have experimented with the other options in the Mezzotint filter, but this one
seems to provide the best results. You are free to try though.
My face just looks creepier now
Step 4.
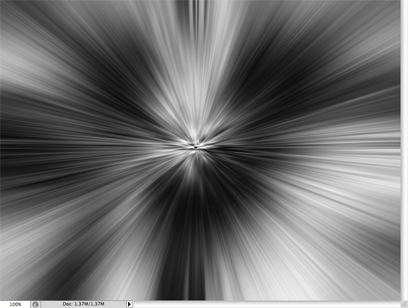
It's a bit hard and staticy, we want it smooth and soft. So lets do that. Go to Filter > Blur > Radial Blur and apply the following,
Amount 100, Blur Method Zoom, Quality Best. Click OK.
Step 5.
Repeat step 4. We need to do one more Radial Blur, you can do this by going to Filter > Radial Blur (at the top of the list), this applies
the last fitler again. You can do this by pressing cmd + F too.
You should have something looking like this now. My spooky face seems to be smiling now.
Step 6.
Twirling, twirling, twirling! Time to make the swirly effect now. Go to Filter > Distort > Twirl, and set the
Angle to 120.
Step 7.
Duplicate your layer (Layer > Duplicate Layer) and set the Blending Mode to Lighten.
Step 8.
Apply a twirl filter to this layer too. Go to Filter > Distort > Twirl. This time set the Angle to -180.
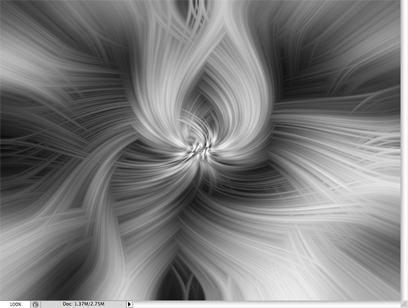
Step 9.
You should have something that is now looking almost like the final image. All you need to do now is to add some colour.
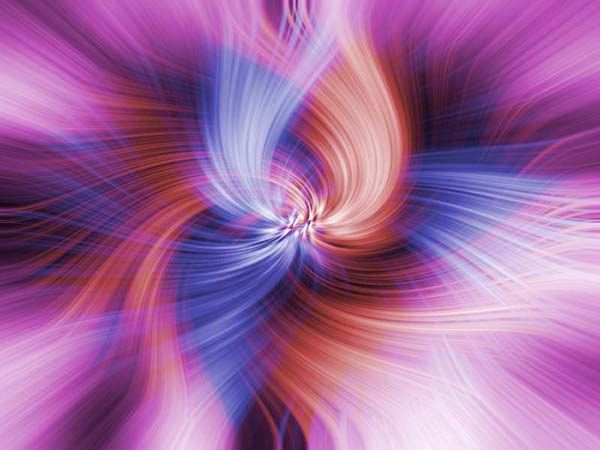
On each of your layers, Go to Image > Adjustments > Hue/Saturation. You can also use the keyboard shortcut cmd + U
to get to it. Now, just tick the Colorize box, and select your desired colour.
Repeat this for your second layer, chosing a different colour, and you are done. Enjoy your swirls. Below you will find my final image.
All tutorials are made in Photoshop CS4 on a Mac.